Assessment steps and why they are needed
- 01
Examination by the director
The director listens to your symptoms and daily habits and examines the face, jaw, neck and shoulders in person. This is the starting point for interpreting every record that follows.
- 02
3D facial record
Captures the three-dimensional shape of the face that is hard to see in front photos alone.
- 03
Photographic record
Front and side photos are taken under the same conditions so they can be compared later.
- 04
Jaw joint movement assessment
We check the path and range of opening and closing, joint sounds and discomfort.
- 05
Follow-up
At later visits we look at changes again from the same perspective as the initial record.
Reference lines of the face
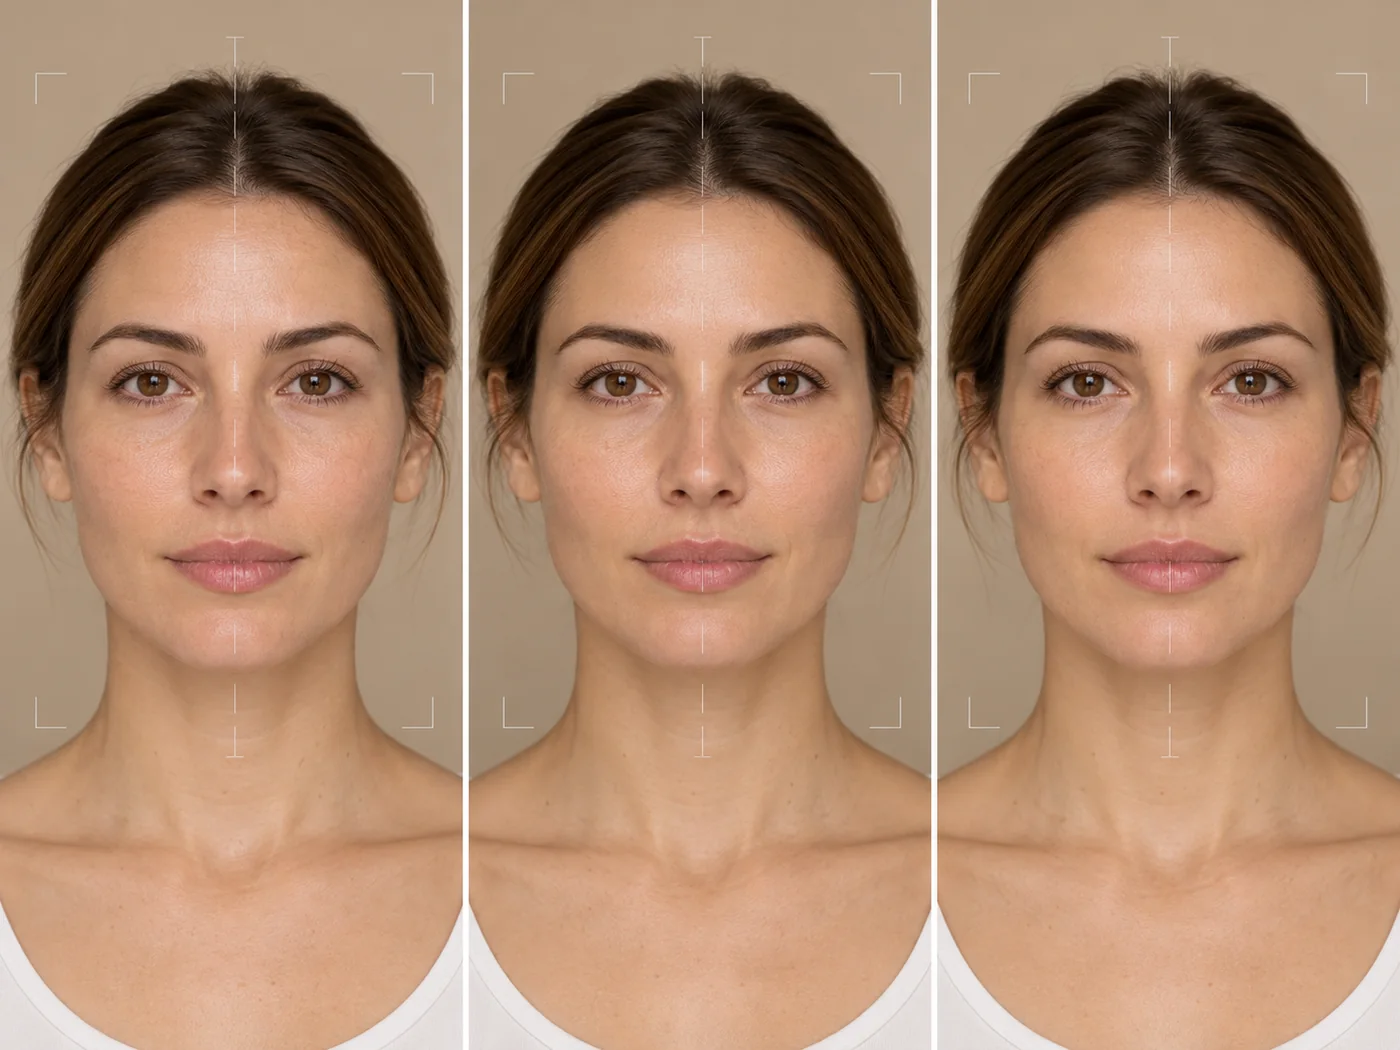
During the examination we look at the left and right sides of the face using a midline through the point between the eyebrows, the tip of the nose, the base of the nose above the upper lip, the meeting point of the lips and the chin, together with horizontal references at eye level and the corners of the mouth. Records are made so that these observations can be compared again under the same conditions.
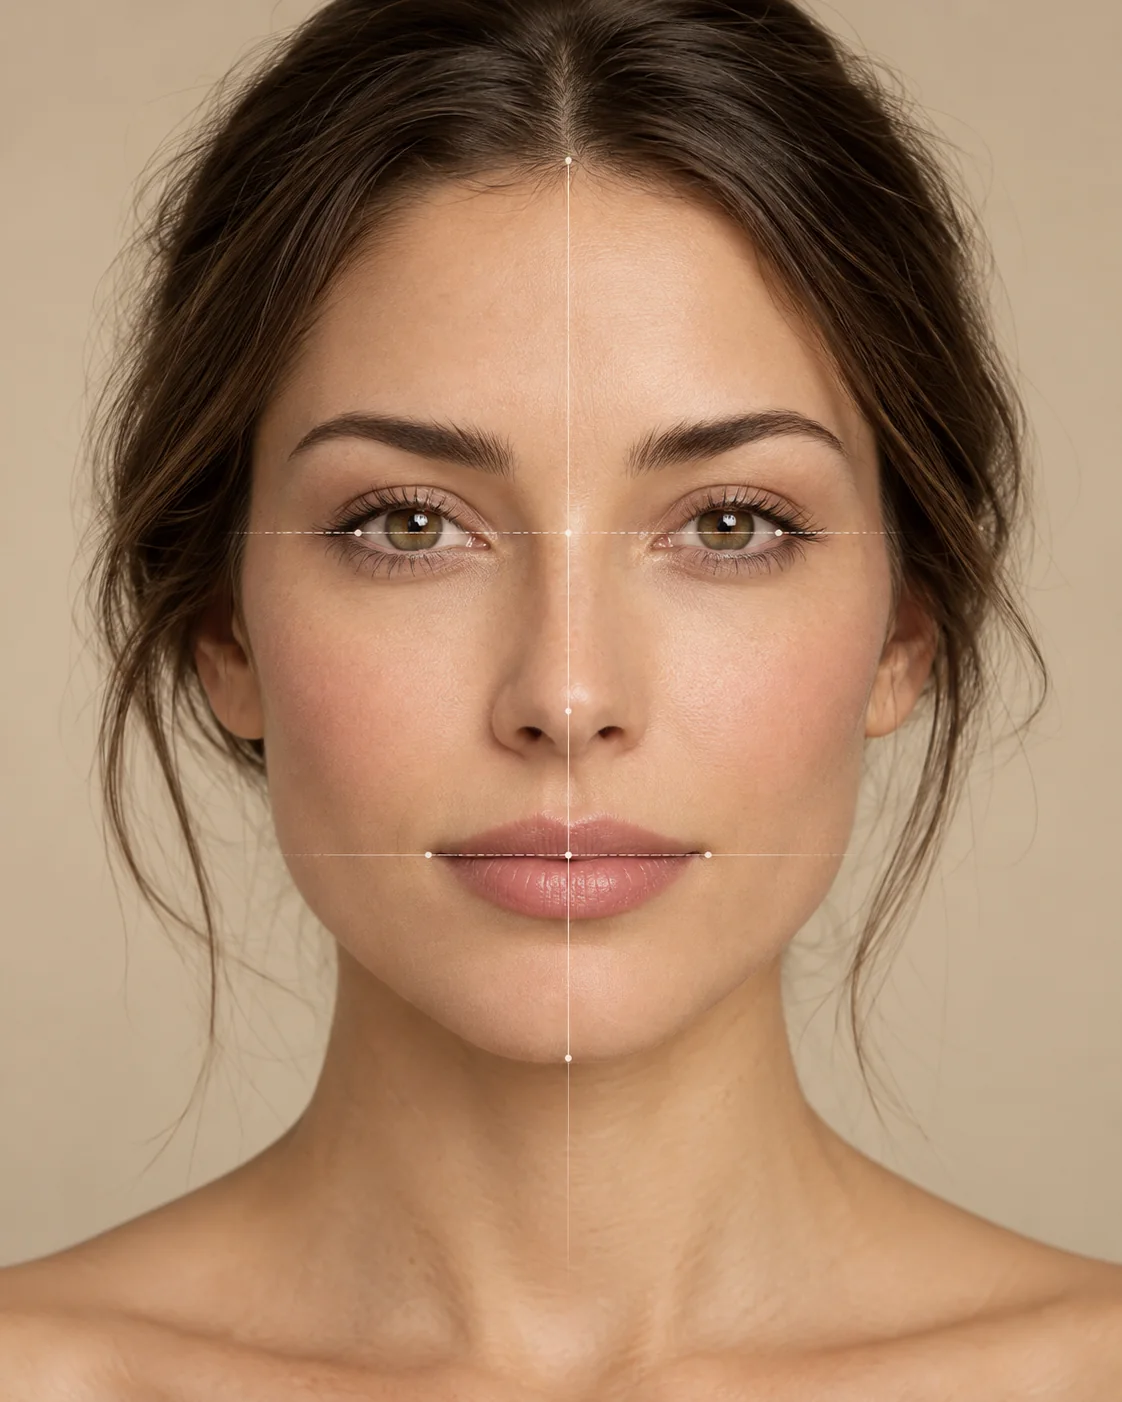
- 01Midline
- 02Horizontal references
- 03Left–right comparison
What records can and cannot do
3D facial records and photographs are clinical records for viewing your current state in three dimensions and comparing progress under the same conditions. They are not tools that fully explain every change in numbers or prove the effect of treatment, and they are always interpreted together with examination findings.
How records are kept
Clinical records and photographs are kept as medical records and are not used on the website or for promotion. Examples of actual 3D record screens will be posted once clinic materials are prepared.